https://365datascience.com/custom-fields-tableau/ -

In our previous tutorial, we learned how to create a calculated field in Tableau. Now, it’s time to spend some time describing more ways to transform your source data and create custom fields in Tableau. Remember, you shouldn’t go too far with these, as Tableau’s main purpose is visualization, and not data creation or modeling.
However, sometimes it can be really handy to perform certain manipulations once you’ve loaded our data into Tableau and you need a certain type of analysis.
So, let’s get started, shall we?
The typical Tableau operators you’ll need to remember are:
+ (plus) for addition
– (minus) for subtraction,
*(star) for multiplication,
/ (forward slash) for division,
And ^ (caret) for elevation;
Along with these, you’ll probably need comparison operators, such as:
= (equal) ,
> (higher than),
< (lower than),
>= (higher or equal),
and <> (different than).
The logical functions available
In Tableau, they resemble the ones we have in Excel: AND, OR, and NOT
Actually, a lot of the functions and symbols used in Excel can be used when you create a calculated field.
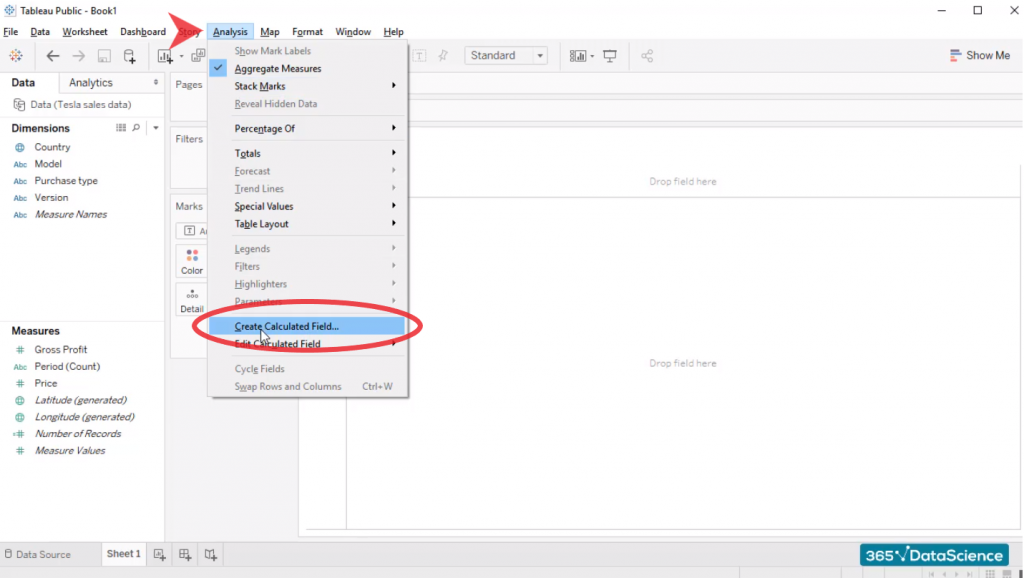
So, for example, some of the most common functions are SUM (for sum), AVG (for average), MIN, and MAX (allowing you to find the minimum and maximum values within a range), and ABS (returning the absolute value of a number).
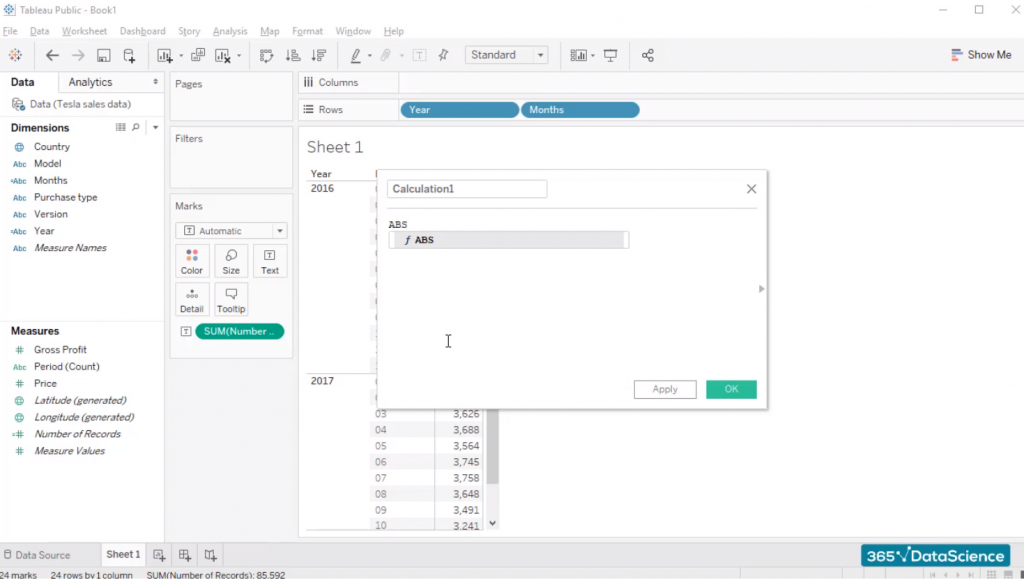
As you probably remember, we already saw the text functions LEFT and RIGHT. They allow us to extract a leftmost and a rightmost number of characters within a string we’ve specified.
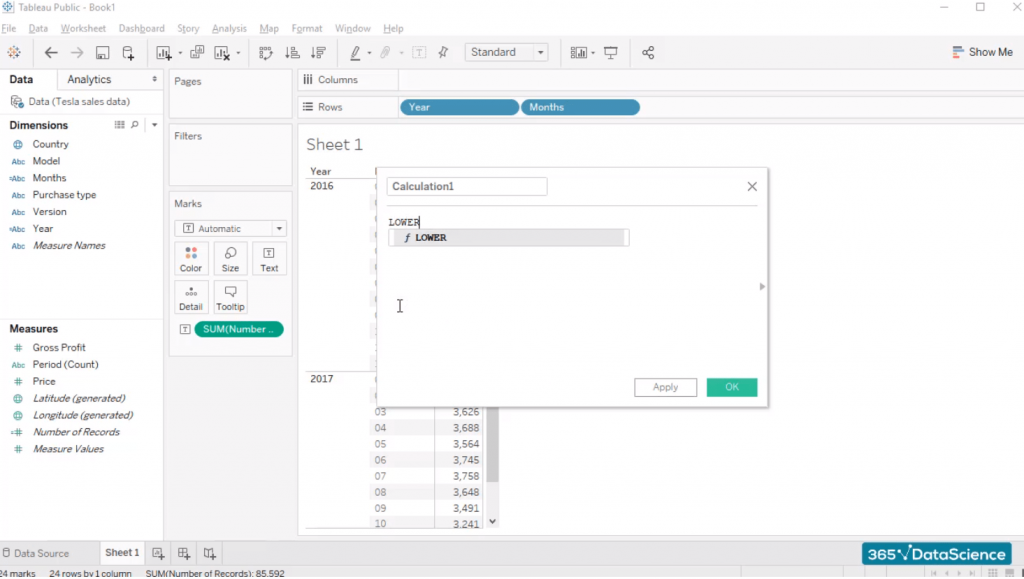
Besides LEFT and RIGHT, we can also use the typical text functions available in Excel – MID (providing us with characters that are in the middle of a text string), UPPER, and LOWER (allowing us to either convert it to all uppercase characters or convert it to all lowercase characters).
This was a nice recap of the types of operators and functions we can use in order to create custom fields in Tableau. You can find more information on this topic here.
A few additional operations before we create custom fields in Tableau
We are ready to go back to Tableau. But before we create some custom fields in Tableau, we will perform a few additional operations with the table we created earlier.
Right now, it shows us the number of units sold by the firm in each month of 2016 and 2017. Let’s change this measure. What we’d like it to show now is the revenue the company generated during each of these periods.
How can we achieve that?
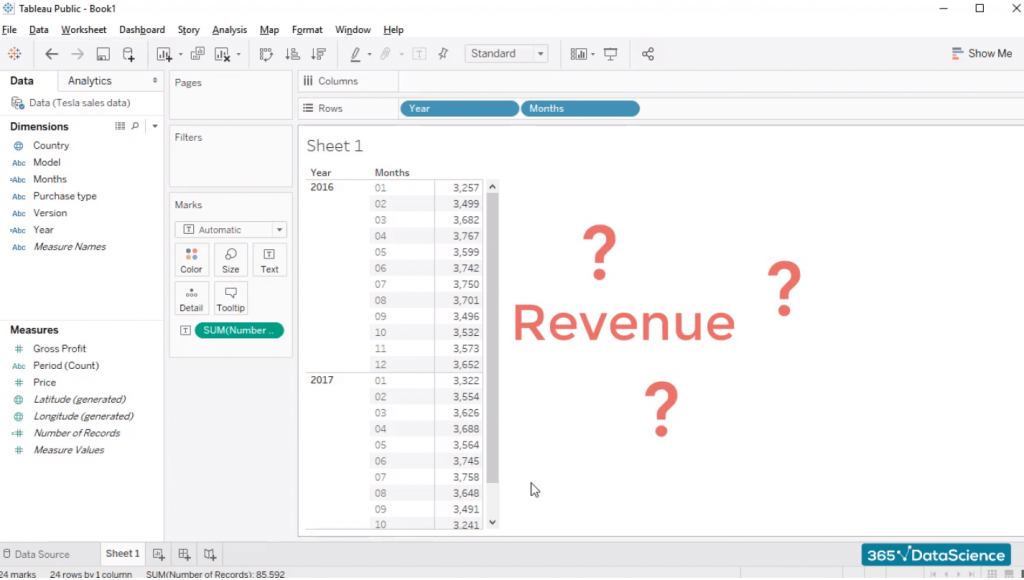
Well, it’s fairly easy. Our source data contains information about price. Plus, Tableau counted the number of units sold (each row shows us a single-car sale, right?). Therefore, if we multiply the “Price” field and the auto-generated “Number of Records” field, we will obtain Revenues.
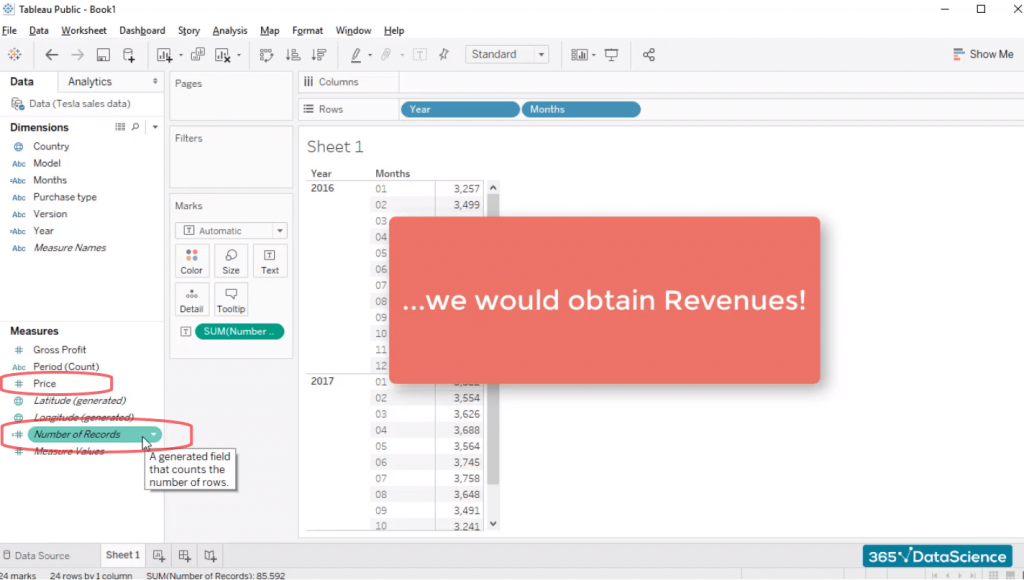
What about the custom fields in Tableau?
We already know how to create a calculated field. Let’s name it “Revenue” and take advantage of Tableau’s auto-complete suggestions multiplying “Price” and “Number of Records”.
As we said in our previous tutorial, we can use the “star” operator to carry out multiplication. One very useful feature you have probably noticed is that at the bottom of the screen Tableau tells us whether the calculation we’ve entered is a valid one or not. Right now, our calculation is valid. If we remove a few symbols, Tableau will indicate that the calculation contains errors. This is a good guiding light when we create a calculation.
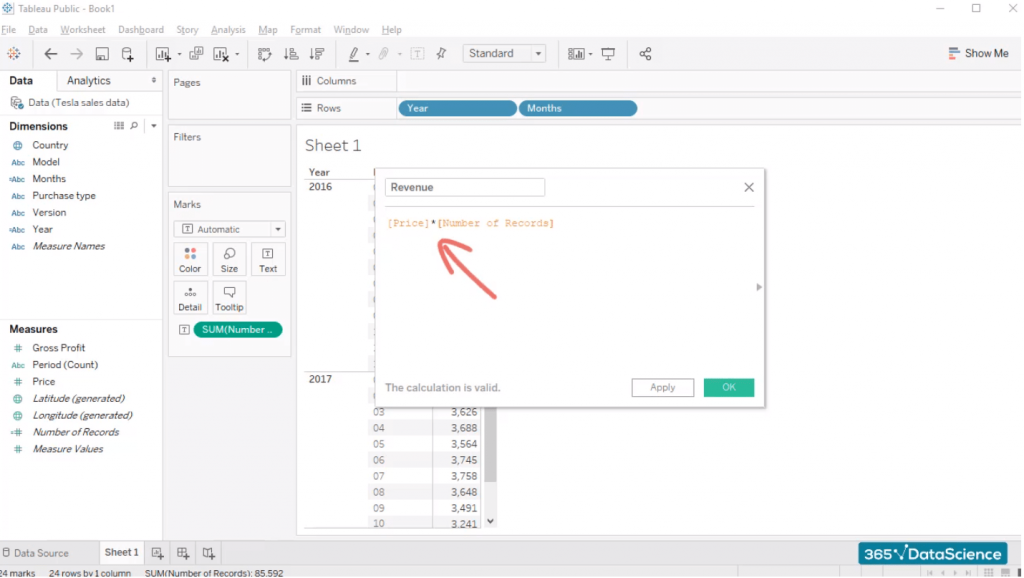
This is our “Revenue” field. We can easily substitute the “Number of Records” data in the table with it. All we have to do is drag the “Revenue” field and position it over the “Number of Records Data”. And…Tableau replaces the two fields.
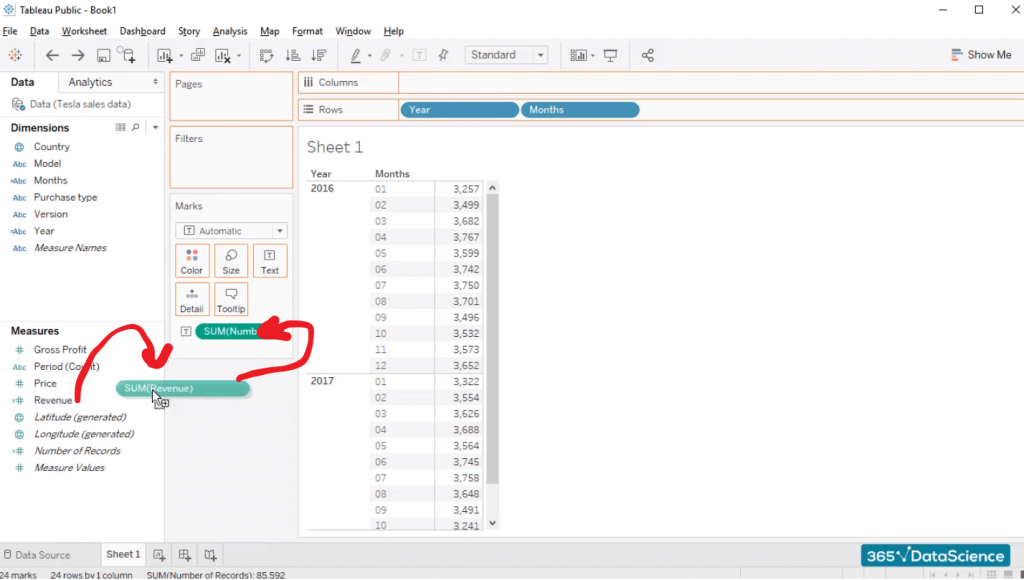
Perfect.
Another important metric contained in our source data is ‘Gross Profit’.
By definition, ‘Revenue’ minus ‘Cogs’ equals ‘Gross Profit’.
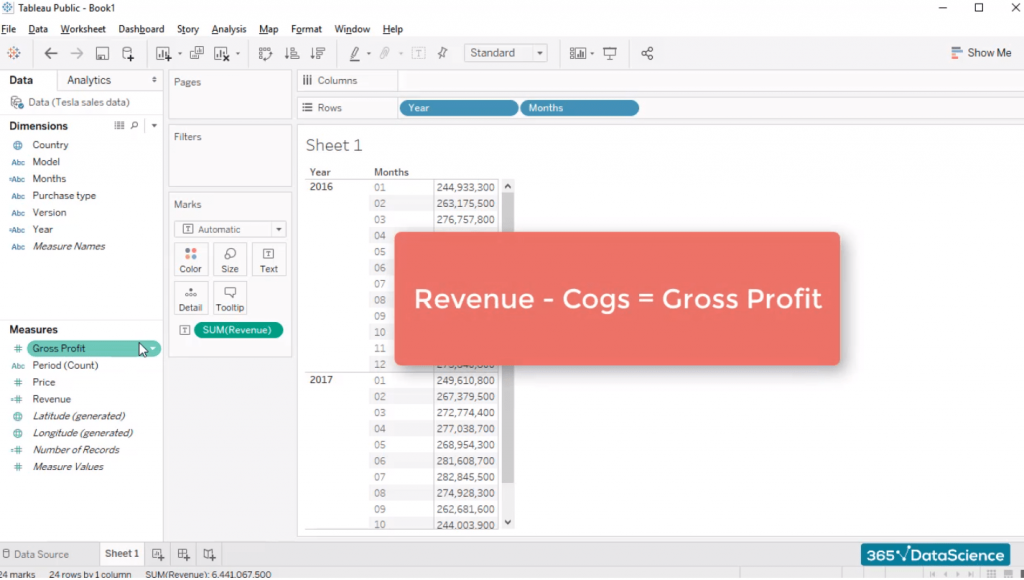
Currently, we have ‘Revenue’ and ‘Gross profit’. Let’s calculate ‘Cogs’ as the difference between the two.
That’s easy. All we have to do is use the minus operator.
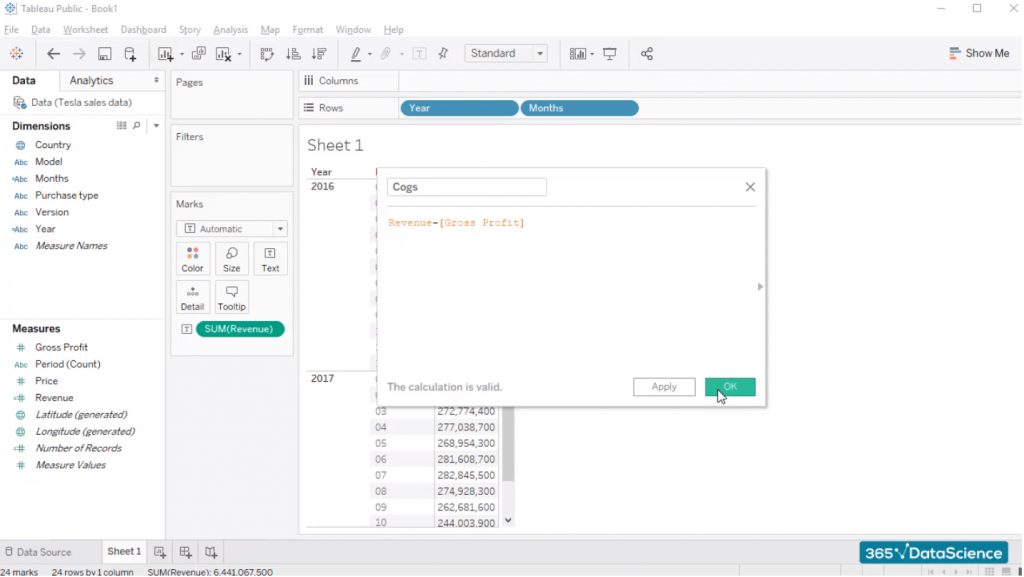
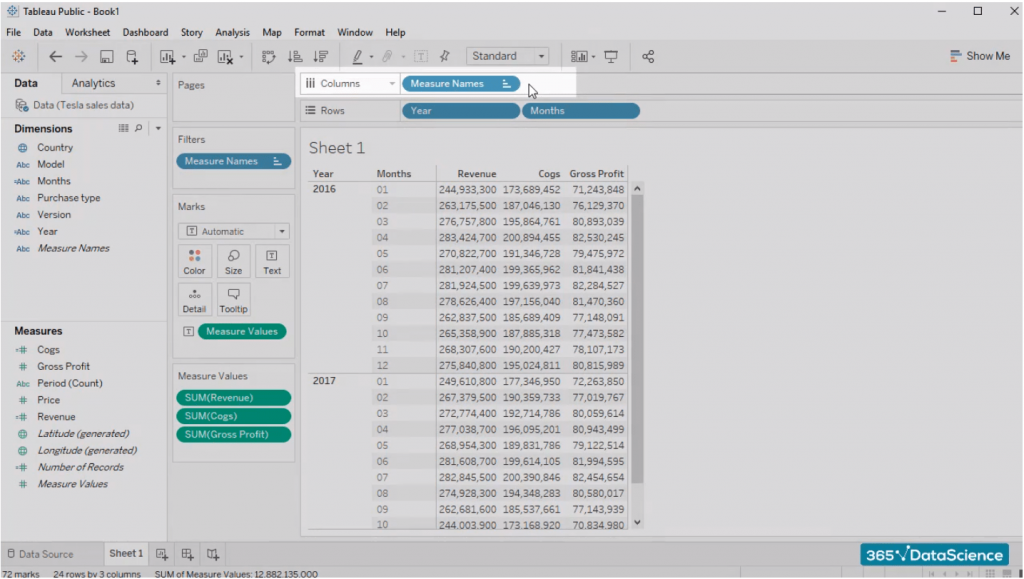
Nice. Let’s order our table in the following way. First, we’ll have ‘Revenue’, then ‘Cogs’, and, finally, ‘Gross Profit’.
We can do that by dragging and dropping the three fields within the table. Please note that their values appear in the “Measure Values” card on the left side of the workspace area. We can change their order either from here or directly inside the table. It’s up to you.
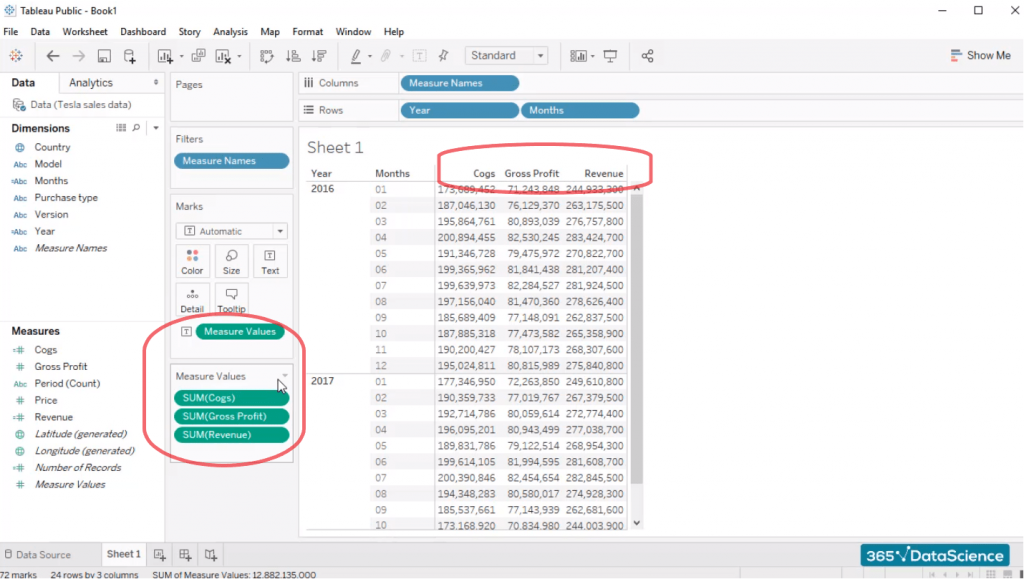
One more thing about custom fields in Tableau
You have probably noticed the “Measure Names” field, which appeared in the “Columns” section. This is an auto-generated field Tableau uses in order to form our table and separate the names of different measures. If we remove it from the columns section, the table will lose its shape as all three measures will be put together.
So, this is how we create custom fields in Tableau. We hope you find it useful. In our next tutorial, we’ll learn how to add totals and subtotals to our tables in Tableau.
Stay tuned!
#Tableau
#365datascience #DataScience #data #science #365datascience #BigData #tutorial #infographic #career #salary #education #howto #scientist #engineer #course #engineer #MachineLearning #machine #learning #certificate #udemy

No comments:
Post a Comment